How to Use Maestra’s Embed Player
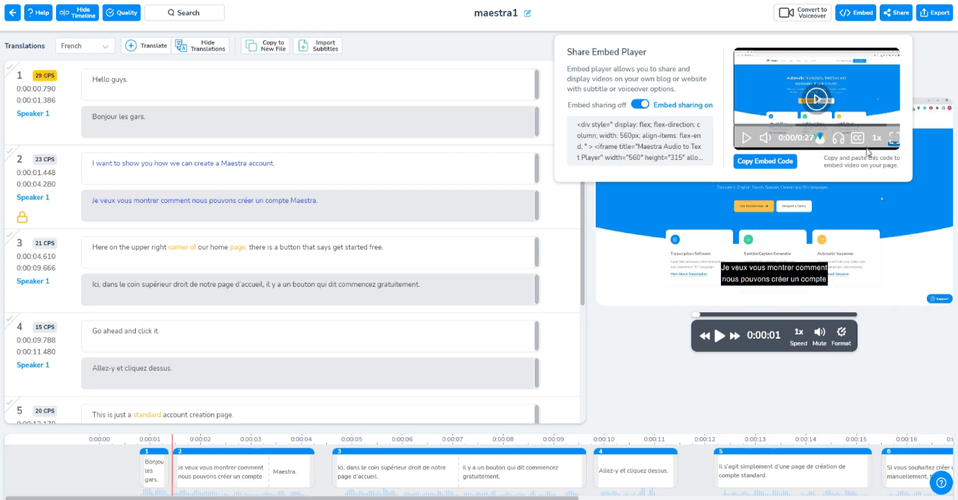
When you are editing a file, on the upper right corner of the screen, you can click the “Embed” button to access our Embed Player. Through the embed player, you can share a video to your website and have subtitles as well as voiceovers for that video simultaneously. And as you make changes to the file in Maestra, the video will also automatically change on your website.
For this tutorial, we have English and French subtitles.
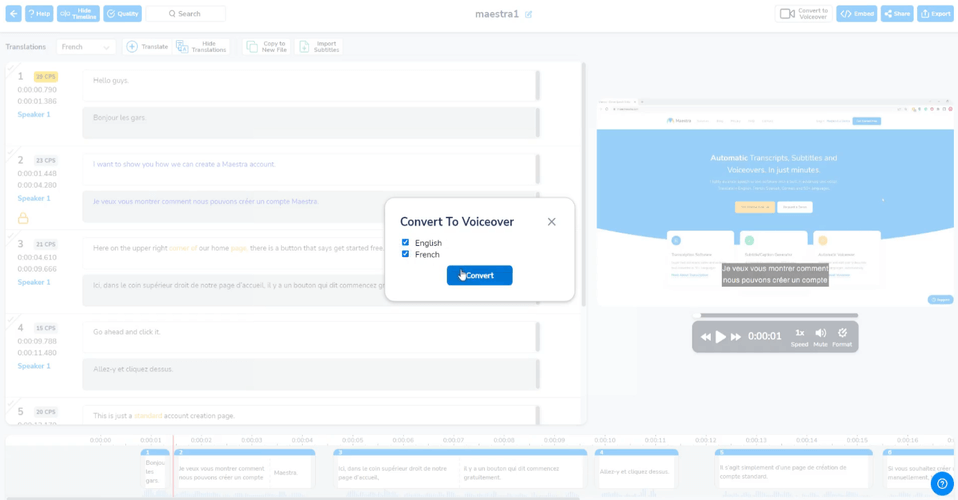
To also have a voiceover in the video, users can click “Convert to Voiceover” on the upper right corner of the screen, near the “Embed” button to start generating voiceovers. The pop-up window will ask you which translations you want to convert to the voiceover version.
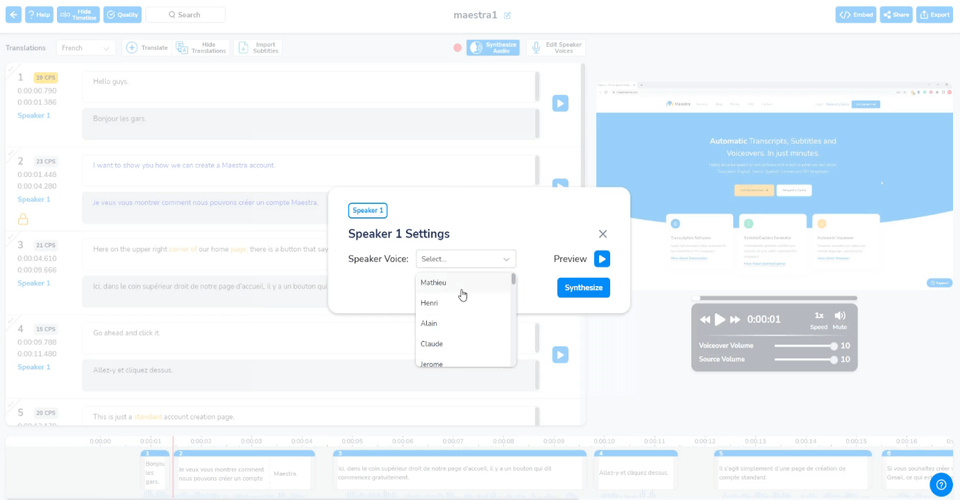
Then, you will be directed to the voiceover editing page, where you will need to click the “Synthesize audio” button for each translation you have made, which will ask you to choose from the many voices we have in Maestra, for each speaker. Then, you can go ahead and click “Synthesize” to generate a voiceover for the video.
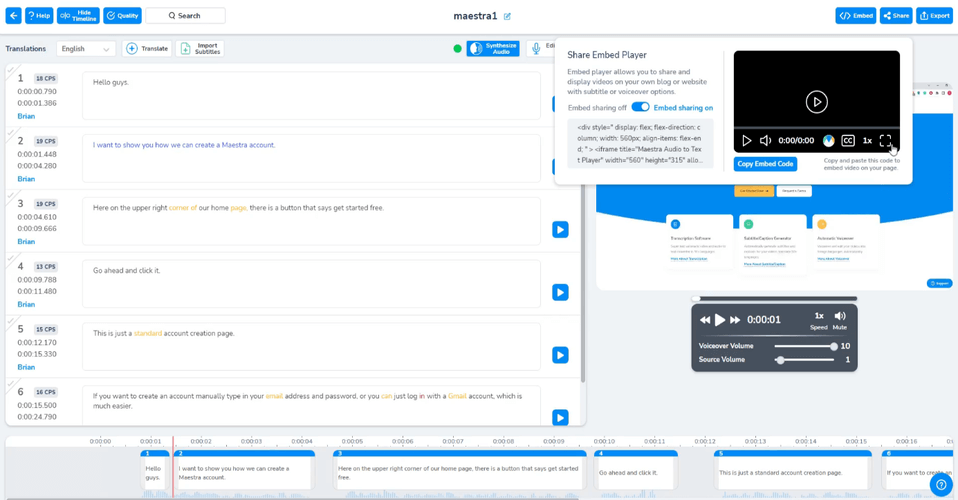
Once you have the subtitles and the voiceovers in the file, you can click the “Embed” button and play the video to preview.
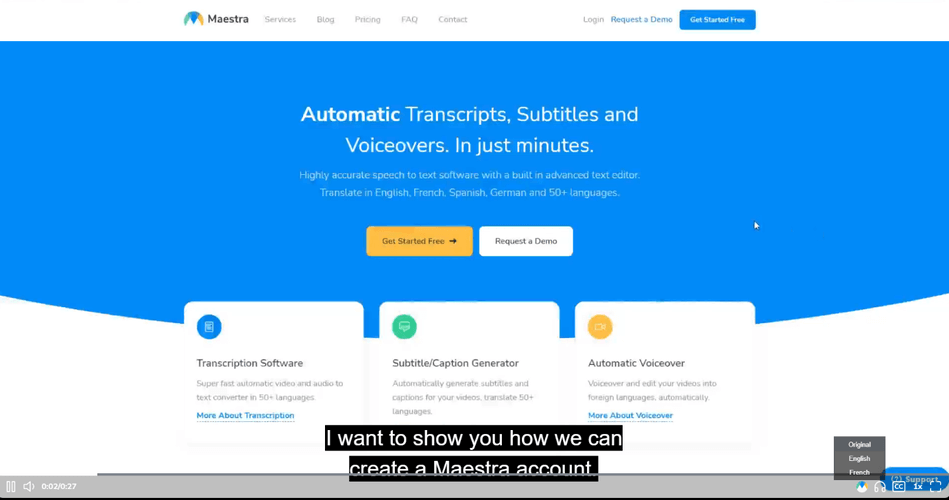
As you can see in the lower right corner of the player, you can change the voiceover of the video through the button that is a headphone symbol.
Also, you can change the subtitles as the video plays through the “CC” button. As we stated before, any changes you make to the file in Maestra’s editors, will also be made to the embed player in your website automatically. So, you won’t need to upload it again.

After the editing and generating are done, you can click “Copy Embed Code”. Then, using this code you can post the file on your website! For more questions, feel free to contact us through the “?” button, located on the lower right corner of the screen, which is our help button.